Create a MotherDuck Data Source
Follow these steps to connect to a MotherDuck database and create a MotherDuck data source.
Create a MotherDuck Data Source
Unlike most other data sources, you do not need to worry about setting up a user and their access rights, and can proceed to connect the database directly.
Steps:
If you have not done so already, create a MotherDuck service token.
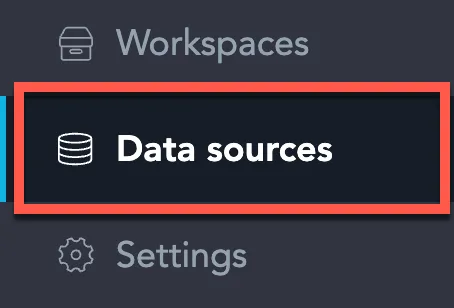
On the home page switch to Data sources.
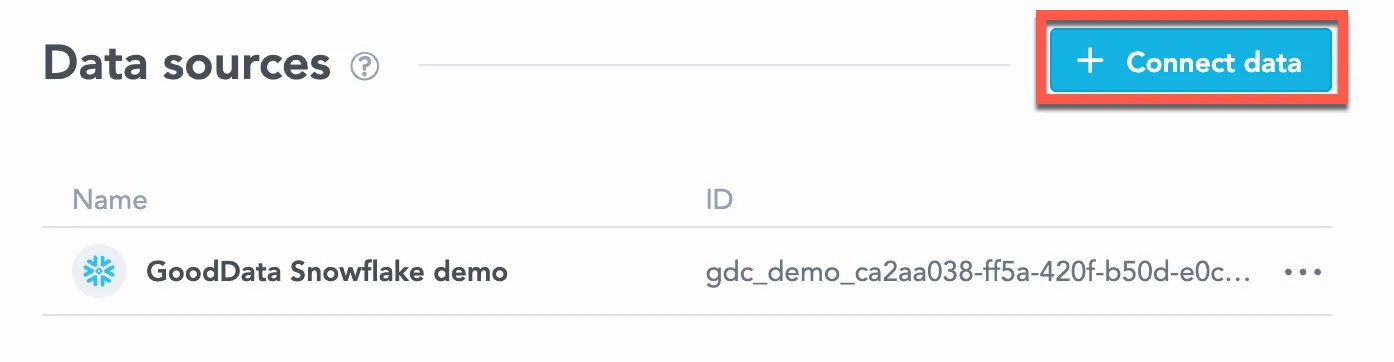
Click Connect data.
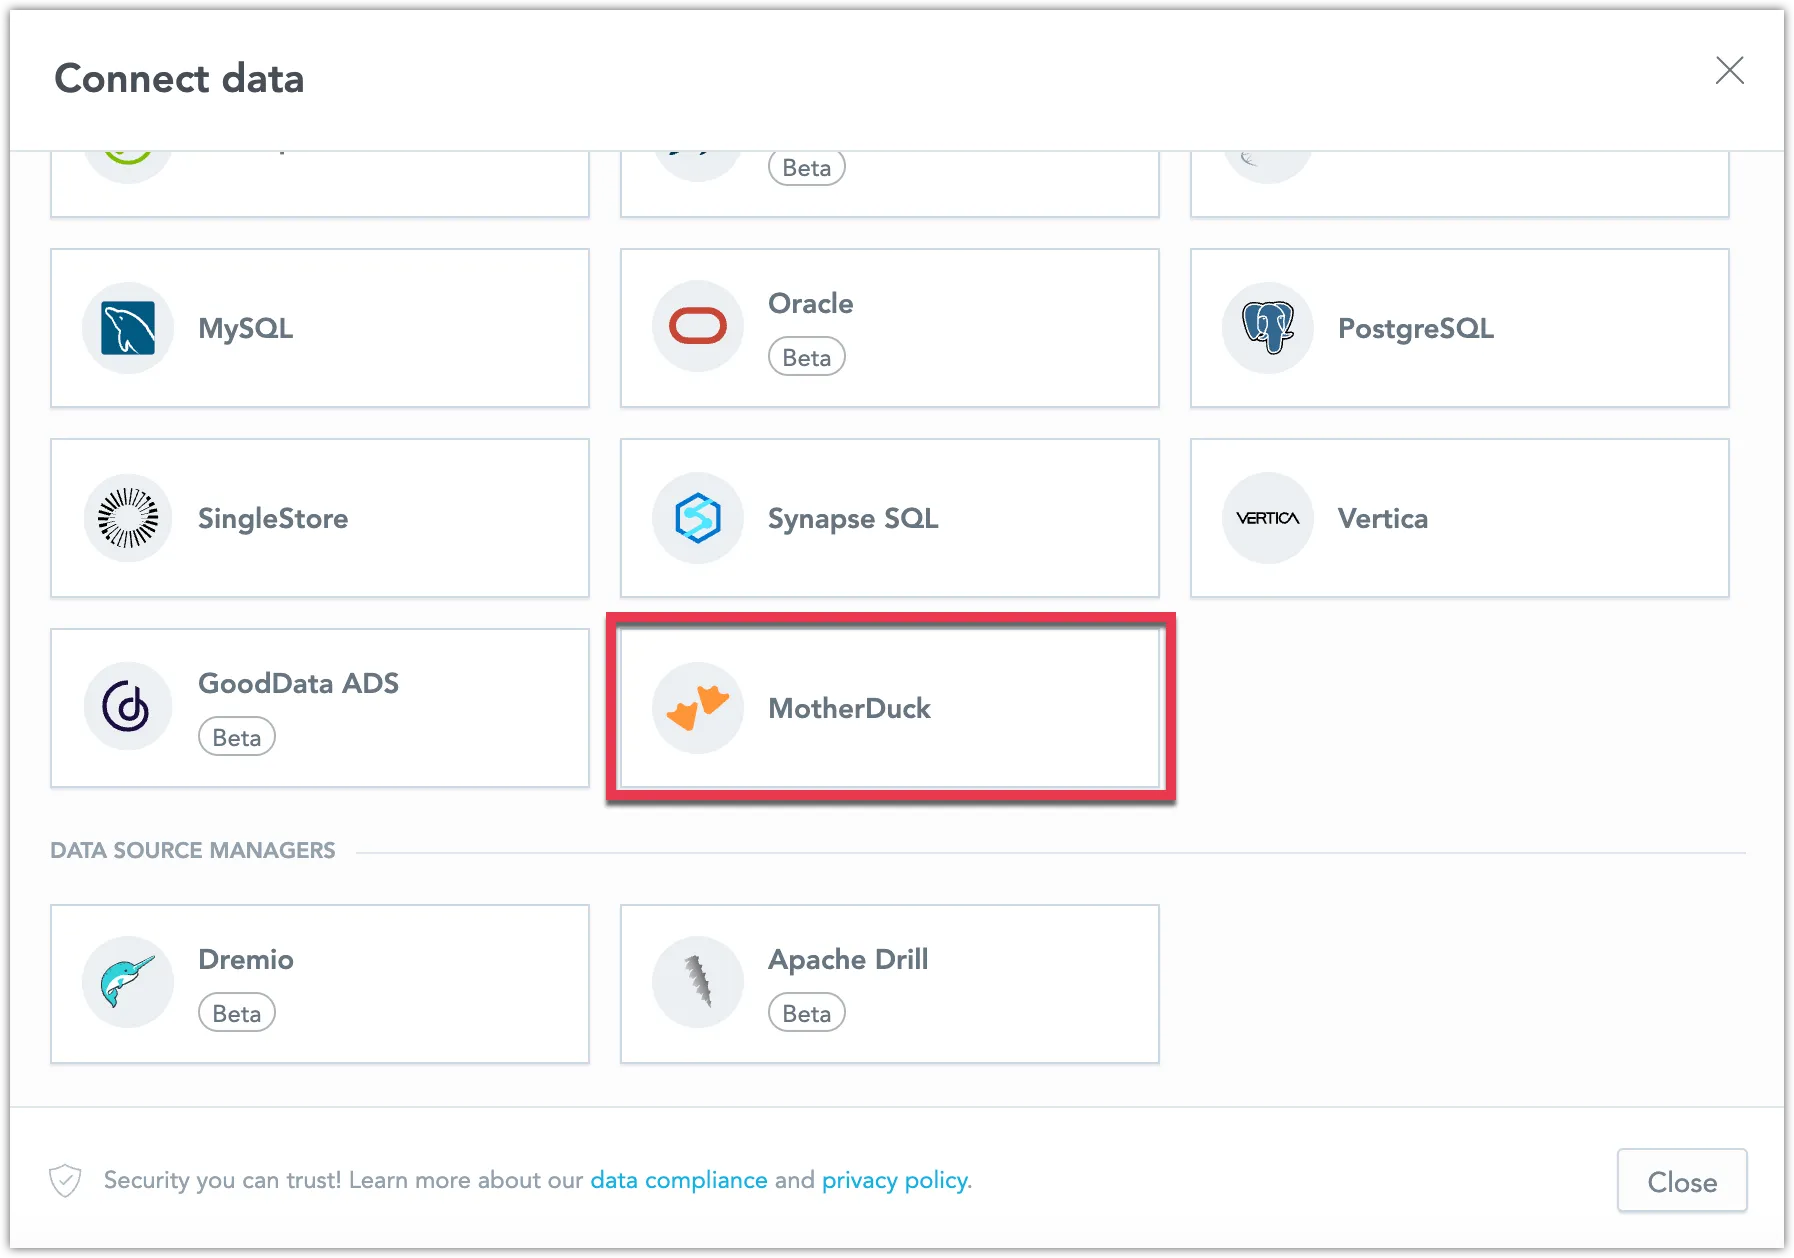
Select MotherDuck.
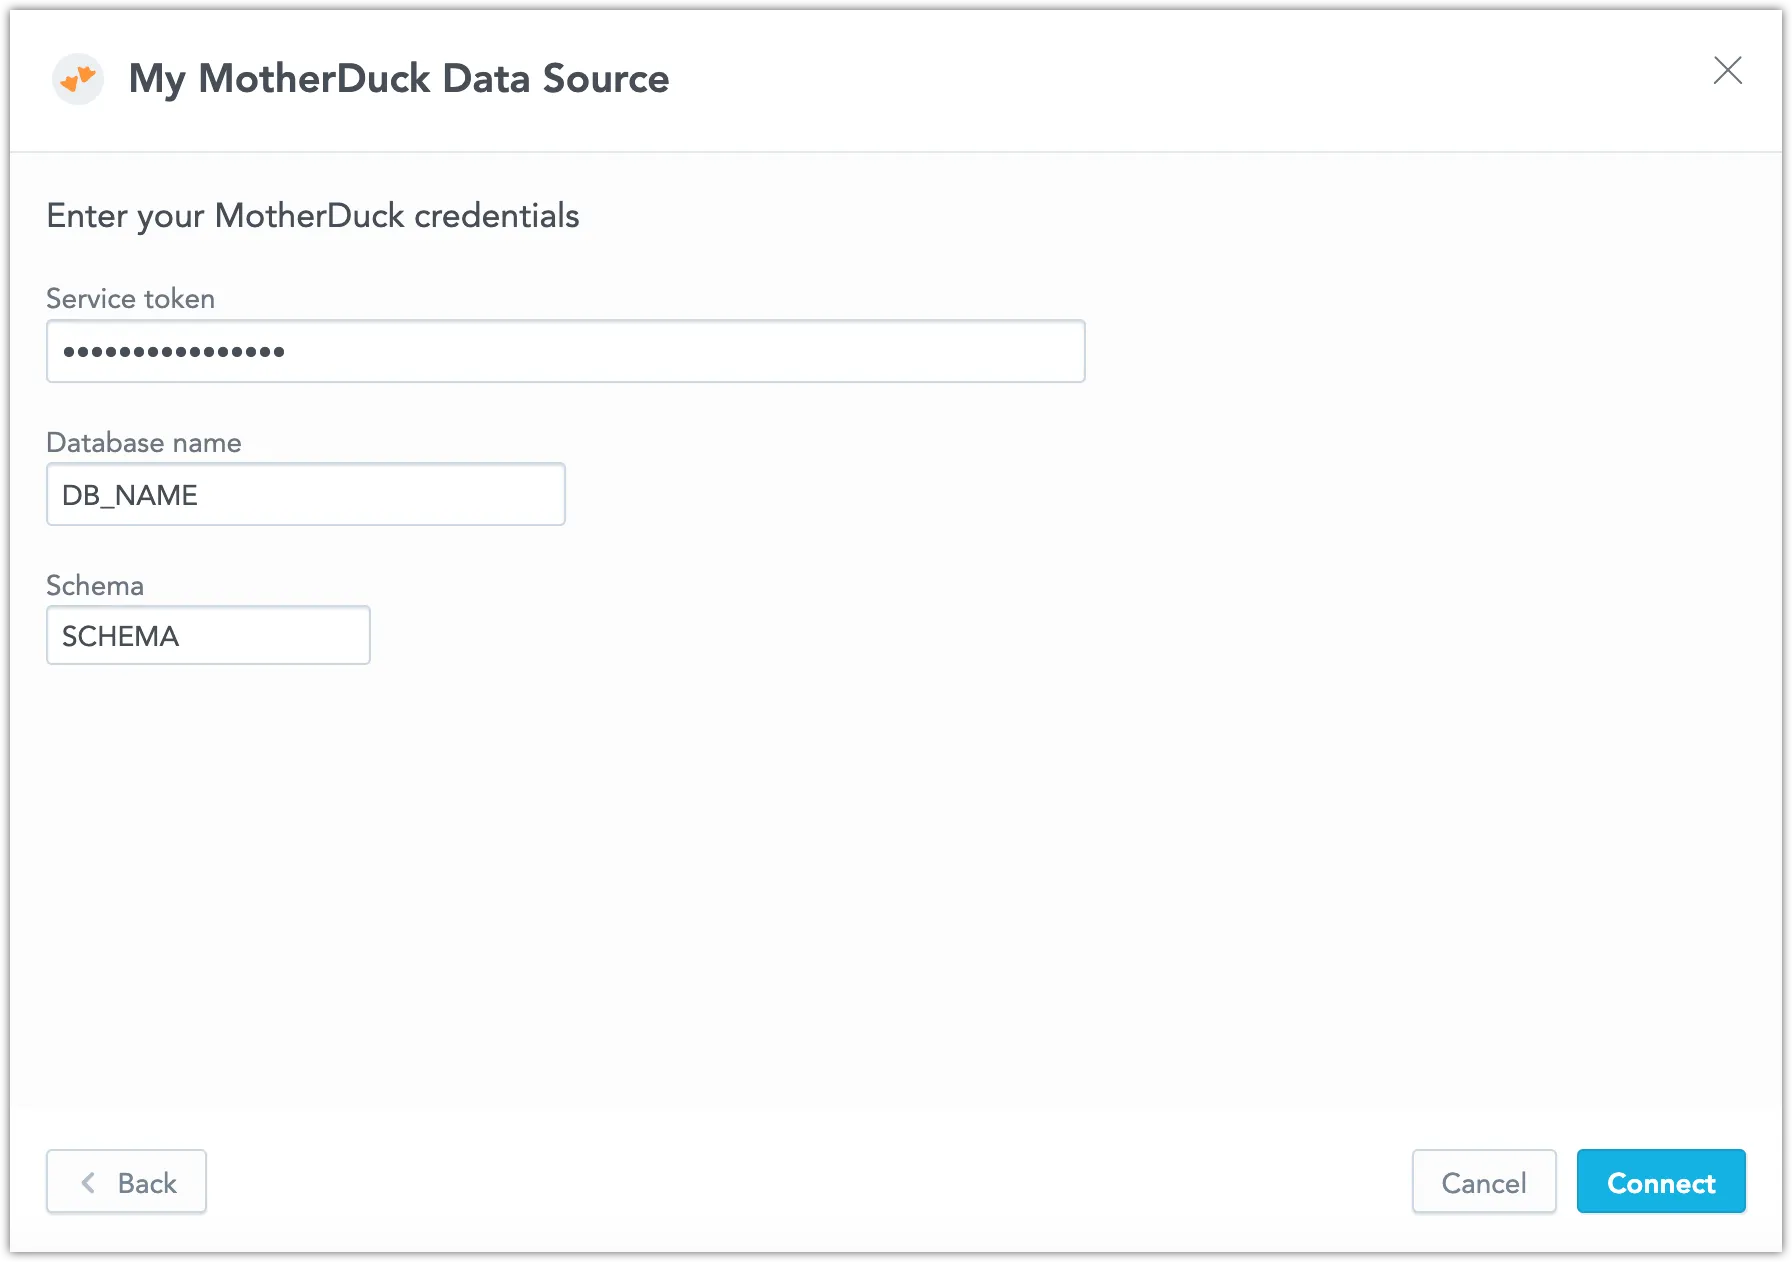
Name your data source and fill in your MotherDuck credentials and click Connect:
Click Save.
Your data source is created!

Steps:
If you have not done so already, create a MotherDuck service token.
Encode your service token to Base64:
# Linux
echo -n $MOTHERDUCK_TOKEN | base64 -w 512
# MacOS
echo -n $MOTHERDUCK_TOKEN | base64
Create a MotherDuck data source with the following API call:
curl $HOST_URL/api/v1/entities/dataSources \
  -H "Content-Type: application/vnd.gooddata.api+json" \
  -H "Accept: application/vnd.gooddata.api+json" \
  -H "Authorization: Bearer $API_TOKEN" \
  -X POST \
  -d '{
    "data": {
      "type": "dataSource",
      "id": "<unique_id_for_the_data_source>",
      "attributes": {
        "name": "<data_source_display_name>",
        "type": "MOTHERDUCK",
        "url": "<MOTHERDUCK_JDBC_URL>",
        "token": "<ENCODED_MOTHERDUCK_TOKEN>",
        "username": "",
        "schema": "<MOTHERDUCK_SCHEMA>"
      }
    }
  }' | jq .
where
<MOTHERDUCK_JDBC_URL>may look like this:jdbc:duckdb:md:my_db_name.To confirm that the data source has been created, ensure the server returns the following response:
{
  "data": {
    "attributes": {
      "name": "<data_source_display_name>",
      "type": "MOTHERDUCK",
      "url": "<MOTHERDUCK_JDBC_URL>",
      "username": "",
      "schema": "<MOTHERDUCK_SCHEMA>"
    },
    "id": "motherduck-datasource",
    "type": "dataSource"
  }
}